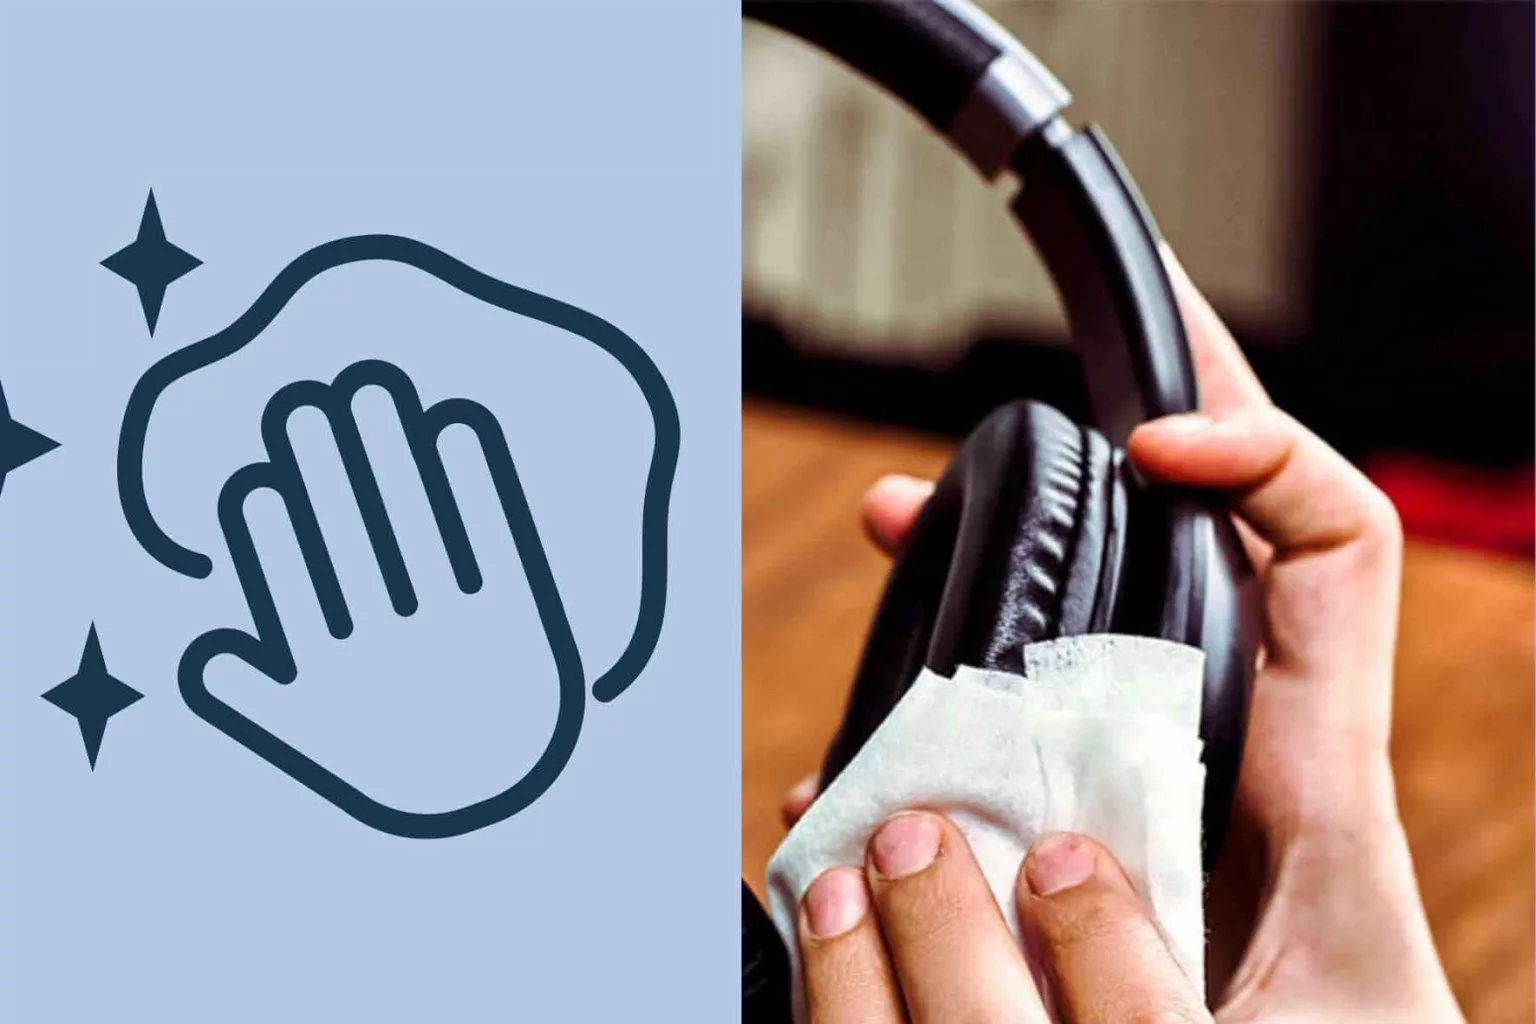
Let’s talk! A phenomenal headphone set truly elevates our auditory journey.
DJs in the throes of an electrifying set, audiophiles dissecting every sonic detail, or everyday music aficionados soaking in their favorite tunes during a morning commute or a workout session — our headphones are integral to our daily rhythm.
But how often do we contemplate the correct way to cleanse those cherished DJ headphones?
This manual is designed to divulge the secrets to immaculate leather headphones and explore the perks of keeping them pristine.
A Quick Guide To Sparkling DJ Headphones!
Craving the simplicity behind headphone hygiene? Here’s a snapshot: 1) Gently dismantle your precious audio gear. 2) A moistened cloth is your starting player. 3) Proceed with a swift swipe of alcohol wipes. 4) For leather aficionados, a dash of conditioner is key. 5) Patience — let them air. 6) Reconstruct your sound sanctuary. This cleansing ritual is best performed every one to two weeks.
Because who doesn’t prioritize cleanliness?
Up Next: Fending Off Tinnitus – A DJ’s Guide to Ear Safety
The Nitty-Gritty on Over Ear Headphone Maintenance
Ironically, despite their esteemed role, we often neglect the proper care for our headphones.
In the midst of energetic DJ booths or just day-to-day life, these gadgets brave the perils of drops, spills, and the occasional trampling.
Truthfully, even absent of traumatic incidents, our headphones can become harbingers of horrifying gunk.
We’ve all endured that cringe-worthy moment upon discovering an unwelcome collection of ear detritus on our beloved cans. Specially concerning is the state of over-ear and, more specifically, leather headphones, which call for a tender touch to maintain their distinguished appearance.
But Really, Why Clean My Headphones?
If you’re pondering the concrete benefits of this audio upkeep, beyond the obvious hygienic motivation, you’re not alone.
Sure, they still transmit tunes despite a smudge here and there, but what tangible rewards does one reap from this extra bit of TLC?
Let’s take a deep dive and uncover these advantages.
#1. Health & Hygiene
We’re all clued into the ick factor of oily, gunked-up headphones. Yet beyond the yuck, this neglect can culminate in a bacterial bonanza.
These unwanted guests could potentially escort nasty infections or illnesses through the gateway of your ears.
While it’s not a life-or-death matter, remember — a stitch in time saves nine (and bypasses a heap of unnecessary pain).
#2. Sound Clarity
Sure, your music will penetrate through the dirt, but consider this: it’s akin to listening with unclean ears.
A thorough cleaning not only rids the buildup but also un-muffles your auditory experience, ensuring a pristine and clear soundscape.
Common sense, isn’t it?
#3. Your Wallet Will Thank You
Talking money, regular headphone maintenance is a cost-saving endeavor. It’s simple — the more care you invest, the less you’ll spend on repairs or replacements.
Rusting me on this one.
The investment in a basic cleaning kit vastly undercuts the costs of professional services or new gear. It’s music to your finances!
Leather Headphones Demanding Your Attention: Cleaning Ritual
Ready for the leather headphone cleanup operation? Assemble these items:
Prep your cleaning station.
Coming Up: DJ-ing Wireless — A Bluetooth Conundrum?
Step #1. Disassemble with Care
The initial move is to dismantle those earpieces carefully. Removing the ear pads demands a gentle hand to avoid rips.
Step #2. The Gentle Swipe
Then, bathe your gear in some warm, soapy water using a highly absorbent cloth — ensure it’s damp, not drenched. Ever-so-lightly, cleanse the headband, earcups, and metal accents, banishing all filth and residue.
Step #3. A Deeper Clean with Alcohol Wipes
Post-wash, brandish those alcohol wipes for a disinfecting encore. For stubborn grime on the grills or pads, directed Q-tip maneuvers dipped in an alcohol solution work wonders. A final pass with wipes seals the germ-free deal.
The potent power of disinfecting.
Next Read: Navigating Noise Cancellation in DJ Headphones – Yay or Nay?
Step #4. Leather Upkeep
Specific to leather, indulge in twice-a-year conditioning to keep that luxe finish. Overdo it, and you invite mildew — not the outcome you desire. A minimal application will suffice when caressing in the conditioner.
Step #5. The Drying Game
A simpler step follows — drying each piece thoroughly. A mere 10 minutes can suffice, but the golden rule is complete dryness before reassembly.
Step #6. Reuniting the Pieces
Finally, rejuvenate your headphones by putting each component back in place with care and precision.
Handle with care: every detachable deserves it.
Next Up: Inside the DJ’s Headphone Wardrobe – Why, When, and How
Your Headphone-Cleaning Schedule
The frequency of cleanings is tied to usage. A rule of thumb is a weekly rendezvous with your cleaning regalia. For the fitness enthusiasts among us, consider purifying post-sweat session.
Remember, intensive conditioning should be a bi-annual affair, while a light alcohol swipe can become a daily closing ceremony.
When to Swap Out Those Pads?
Regular replacement of headphone pads isn’t just advisable; it’s an essential rhythm of headphone care. With this practice, you sustain peak headphone performance at an accessible cost, delaying the need for a full-scale upgrade.
Maintain that crisp sound – fortnightly cleaning is your friend.
Catch This: The Rationale Behind DJs’ Headphone Habits
Cleaning DJ Headphones: The Recap
Here’s our takeaway from the ‘how to clean DJ headphones’ jam session.
Your DJ headphones are your sonic soulmates, especially critical for those mixing tracks and unleashing beats. For every music enthusiast, maintaining a pristine pair of headphones is essential for that high-definition audio experience.
Invest a slice of your week in cleanliness, and your headphones will radiate newness for years to come, while your wallet savors the conservation of cash.


